Your First DIY Connected Device: A Practical Guide with Raspberry Pi and MQTT
Imagine a switch that turns on automatically when you come home, or a sensor that alerts you when the temperature exceeds a certain threshold. These features are no longer reserved for expensive commercial products. With a Raspberry Pi, a few electronic components, and the MQTT protocol, you can build your own smart device, fully customizable and under your control. This article guides you step by step through this technical and creative adventure.
Why choose this DIY approach over a ready-made product? The answer lies in three words: control, customization, and learning. Unlike cloud-dependent solutions, your creation will work locally, preserving your privacy. You can adapt it exactly to your needs, and each step will bring you concrete skills in electronics and programming. We will explore how to assemble the pieces of the puzzle: the hardware, the software, and especially, the communication between your devices.
Why is the Raspberry Pi the Ideal Brain for Your Project?
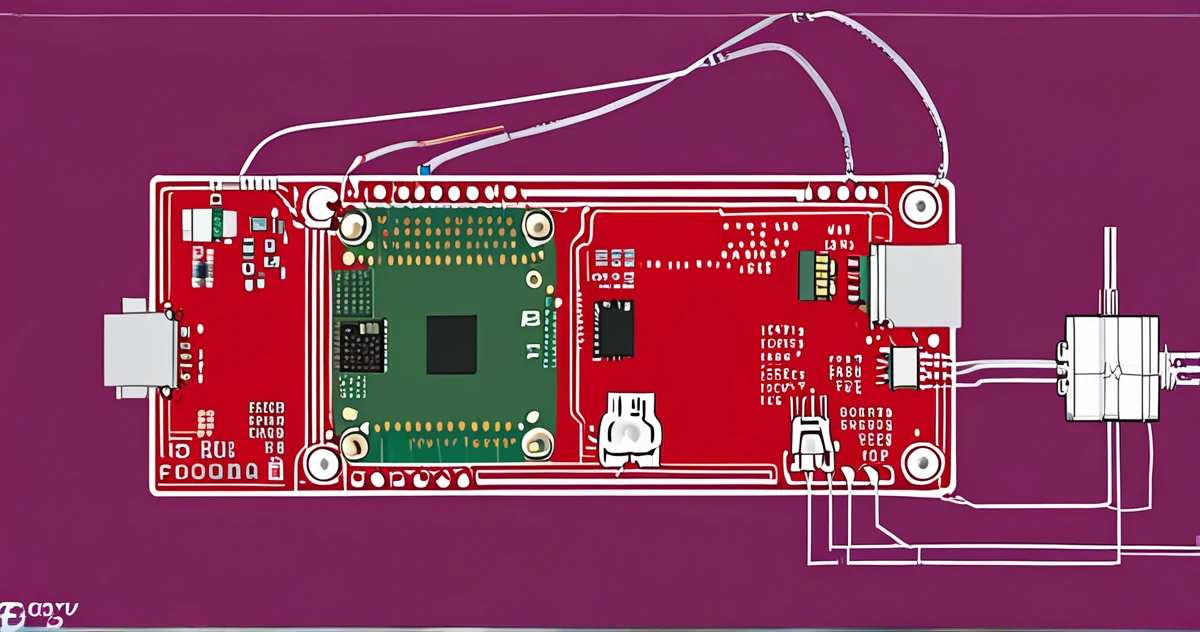
The Raspberry Pi is not just a cheap miniature computer. It is a versatile platform that can serve as a central hub for your home automation ecosystem. According to a guide published on Sunfounder, the Raspberry Pi allows the integration of smart devices like lights, sensors, cameras, and thermostats, facilitating their interaction and automation. Its computing power is sufficient to run multiple services simultaneously, as illustrated by a user on the Arduino forum who explains running an MQTT broker, an FTP server, and image processing on their Raspberry Pi, to which 13 ESP32s are connected throughout their house.
However, a crucial warning comes from the Home Assistant community: if you use a Raspberry Pi, do not rely on an SD card, which will eventually fail. Instead, plan for more reliable storage, like an external SSD, for the longevity of your setup.
MQTT: The Secret Language That Connects Your Connected Devices
MQTT (Message Queuing Telemetry Transport) is not just an obscure technical protocol. It is the nervous system of your DIY home automation setup, allowing your devices to communicate with each other in a lightweight and efficient manner. An MQTT broker acts as a messaging center: it receives messages from sensors (like "temperature = 22°C") and redistributes them to interested subscribers (like a thermostat or your control interface).
According to HiveMQ, an MQTT broker is essential for connecting your first MQTT clients. In the context of a DIY project, this means your Raspberry Pi can host this broker (with software like Mosquitto), thus becoming the convergence point for all your homemade devices. The Home Assistant community confirms it: MQTT is your gateway to DIY and third-party integration. This is what allows a DIY temperature sensor built with an ESP32 to send its data to your central dashboard.
Assembling the Pieces: A Concrete Example of a Workflow
Here are the typical steps to create a simple device, like a door sensor using a Raspberry Pi and MQTT:
- Raspberry Pi Setup: Install an operating system (like Raspberry Pi OS) and basic services. As suggested by a guide on Reddit, you can install Home Assistant, Node-RED, and the MQTT broker Mosquitto to create a complete home automation hub.
- MQTT Broker Setup: Install and configure Mosquitto on your Raspberry Pi. This is the service that will manage all communications.
- Peripheral Device Development: For a sensor, you could use a microcontroller like an ESP32. Program it to read the sensor (for example, a reed switch on a door) and publish its state ("open" or "closed") on a specific MQTT topic (like `home/front_door/state`).
- Automation Creation: Use the central software (like Home Assistant) to "listen" (subscribe to) this MQTT topic. Configure an automation: if the message is "open", then turn on the hallway light.
This flow illustrates the separation of roles: the sensor (ESP32) collects and publishes, the broker (on the Raspberry Pi) routes the information, and the control software (Home Assistant) makes decisions and triggers actions.
Avoiding Common Beginner Pitfalls
The enthusiasm of a first project can sometimes make you overlook crucial details. Here are some pitfalls to avoid, inspired by feedback from experience:
- Neglecting Storage Reliability: As mentioned, a standard SD card in a Raspberry Pi is a likely point of failure for a 24/7 installation.
- Underestimating the Importance of a Stable MQTT Broker: It is the backbone of your communication. Ensure it is properly installed and secured (with credentials) to prevent any device from publishing commands.
- Forgetting MQTT Topic Planning: Adopt a clear and hierarchical naming convention from the start (e.g., `home/floor/room/device/variable`). This avoids confusion as your device fleet grows.
- Jumping Straight into Complex Projects: Start with a single sensor or a single switch to master the complete cycle (MQTT publication → reception → action) before adding complexity.
> Key Takeaways:
> * The Raspberry Pi is a powerful central platform, but prefer SSD storage over an SD card.
> * MQTT is the essential communication protocol for linking your DIY creations.
> * A typical architecture separates the sensor/actuator, the MQTT broker, and the automation software.
> * Plan your MQTT structure and start simple to ensure stability.
Integration into a Broader Ecosystem: The Role of Home Assistant
Your DIY device does not live in isolation. Its true potential is expressed when it interacts with other elements of your smart home. This is where a platform like Home Assistant comes in. As described in a getting started guide, after its installation, Home Assistant can auto-detect many devices and offer integrations to configure. It can also connect directly to your MQTT broker to discover and control the devices you publish there.
Home Assistant acts as the higher-level brain: it receives data from your sensors via MQTT, allows you to visualize it on a dashboard, and write complex automations ("If the front door is open AND it is nighttime, AND my phone is connected to the home WiFi, then turn on the entryway light for 5 minutes"). It can also serve as a bridge to integrate certain commercial devices in local mode, as detailed in a beginner's guide on the Home Assistant subreddit concerning Local Tuya.
Conclusion: Towards a Mastered Smart Home
Building your first smart device with Raspberry Pi and MQTT is much more than a technical exercise. It is an approach that gives control back to the user over their connected environment. You learn to choose components, program their behavior, and orchestrate their communication, far from the black boxes of proprietary solutions. You create something tailored to your precise needs, with the satisfaction of manual and intellectual work.
The next step? Once your first sensor or switch is operational, you can extend the system. Add other ESP32s to cover different rooms, experiment with various types of sensors (motion, air quality, humidity), or create your own actuators to control outlets or light dimmers. Each new element will graft onto the architecture you have set up, strengthening your understanding and the usefulness of your installation. DIY home automation is not a destination, but a continuous process of learning and improving your daily life.
To Go Further
- Community Home-assistant - Feedback and practical advice for getting started with Home Assistant.
- Forum Arduino Cc - Discussion on setting up a home automation system with Raspberry Pi and microcontrollers.
- Medium - Presentation of home automation with open-source solutions.
- Reddit - Guide for integrating Tuya devices in local mode with Home Assistant.
- Derekseaman - Home Assistant getting started guide.
- Reddit - Tutorial for installing a complete home automation hub on Raspberry Pi.
- Hivemq - Beginner's guide to understanding and using MQTT brokers.
- Sunfounder - Complete guide on home automation with Raspberry Pi.